Duration: 3 minutes
Based on:
1. Set-Up
1.1
1.2 Restore state from backup copy
Copy the code, right-click in PowerShell window to paste it and press Enter to execute
cd ~/Documents/git-workoutsCopy-Item bak-2.2 current -Recurse -Forcecd current2. Make first commit
2.1 Switch into products branch
Type in PowerShell prompt and press Enter to execute
git switch products2.2 Create file
Type in PowerShell prompt and press Enter to execute
New-Item products.md2.3 Stage changes
Type in PowerShell prompt and press Enter to execute
git add -A2.4 Commit changes
Type in PowerShell prompt and press Enter to execute
git commit -m "Add products.md"3. Make second commit
3.1 Add content into the file
Type in PowerShell prompt and press Enter to execute
Set-Content -Path "products.md" -Value "# Products"3.2 Stage changes
Type in PowerShell prompt and press Enter to execute
git add -A3.3 Commit changes
Type in PowerShell prompt and press Enter to execute
git commit -m "Add title into products.md"3.4 View commit history
Type in PowerShell prompt and press Enter to execute
git log --oneline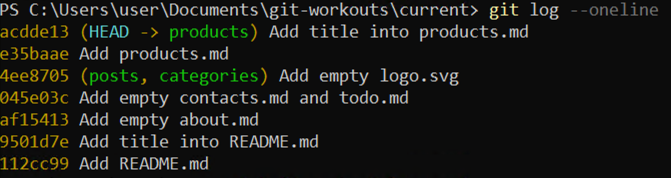
4. Merge changes into master
4.1 Switch into master branch
Type in PowerShell prompt and press Enter to execute
git switch master4.2 Merge changes
Type in PowerShell prompt and press Enter to execute
git merge products4.3 Confirm commit message
The Notepad editor window is opened to write a message for the commit
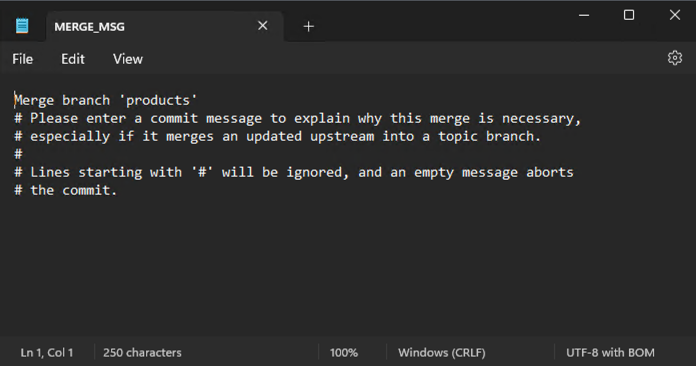
Press Ctrl+S to save changes
Press Ctrl+W to close the window
4.4 View commit history
Type in PowerShell prompt and press Enter to execute
git log --oneline --graph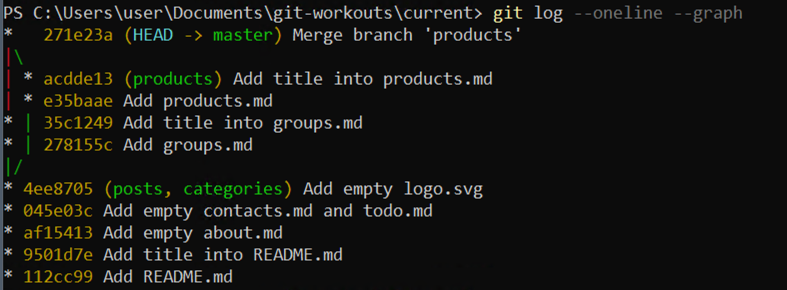
Additional Info
The --graph flag instructs Git to display additional pseudo-graphic elements for better visual representation.
4.5 Delete products branch
Type in PowerShell prompt and press Enter to execute
git branch -d products5. Wrap-Up
5.1. Make backup copy
Copy the code, right-click in PowerShell window to paste it and press Enter to execute
cd ..Copy-Item current bak-2.3 -Recurse -ForceRemove-Item current -Recurse -Force